File extensions are denotations that come after the dot on a file’s name and are used to indicate the type of file.
Common ones include .doc, .pdf, .dat, .txt, .jpeg, .mp4, .avi, .flv. among others.
Files extensions are hidden in Windows by default. This is meant to protect you from accidentally changing the file extension.
The relevant program will be unable to open the file if it does not have a corresponding file extension.
For instance, Microsoft Word will open a document with the .doc or .docx file extension.
However, should you change the extension to .jpeg, Word won’t be able to open the file, even if it was originally created using Microsoft Word.
Nevertheless, there are times you will want to edit file extensions for a myriad of reasons. This necessitates that you make the extensions visible.
Here’s how to:
- Launch File Explorer. You can do this by clicking on the explore icon on the task bar. You can also open any folder to access the file explore options.
- Click on the View tab at the top of the explorer window.
- Check the box next to File name extensions

- Uncheck the box once done and want to revert to hiding the file extension.
Alternatively:
- Launch the Control Panel by right clicking the Start button and selecting it from the list that appears.
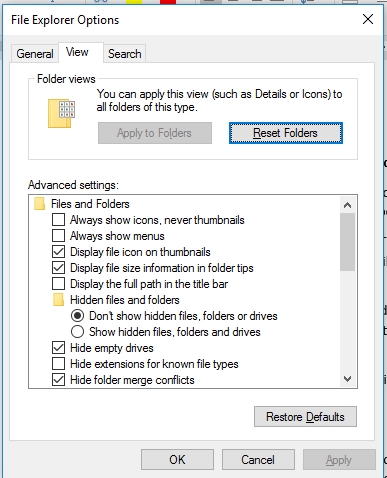
- Change the View by option to small icons to be able to see File Explorer Options.

- Open File Explorer Options and navigate to the View

- Under Hidden files and folders, click the radio next to the Show hidden files, folders and drives option to activate it.
Click the radio next to Don’t show hidden files, folders and drives to revert to hiding file extensions.
Leave a Comment